
Our original floor mat design used a very thin rubber backing,
Though it worked, I felt this backing just wasn't strong enough and didn't look good. So I went looking for something stronger and a bit thicker. The problem was it couldn't be to thick or my wife couldn't sew through it.

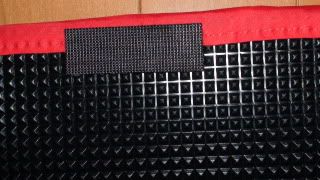
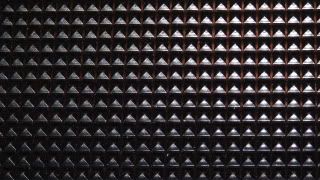
I found this at a local shop, it is a thicker black rubber which can be used in trunks or cut to be a weather proof floor mat. It was just the right thickness and even had small spikes on the back to hold the mats in place. PERFECT!
Now we had to make the floor mats for our customers.
How they are made:
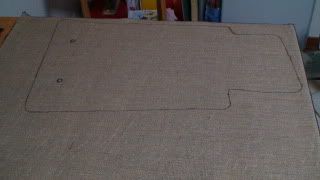
Each mat is traced onto a large piece of carpet. We trace around an original factory standard mat to get exact measurements. Our carpet is much softer than the original and also easier to clean.
After the mat is traced it is then cut out, the result is a mat the exact same size as the factory standard.
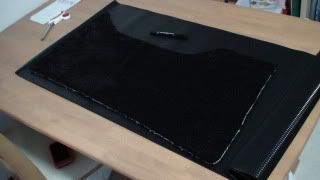
Then the mat is placed on our rubber backing and traced.
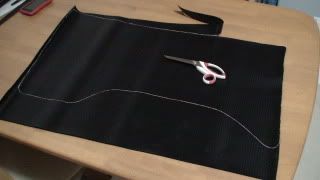
Once done the rubber is then cut out.
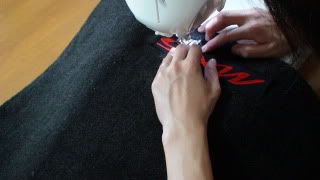
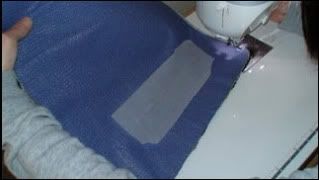
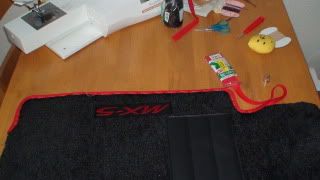
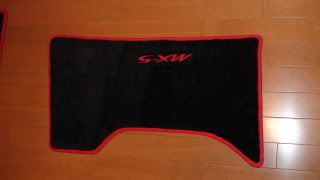
Then it's off to our sewing machine to have the text of your choice embroiderd and sewn on the mat. Our high-tech sewing machine can embroider any kinda text style and color you like!

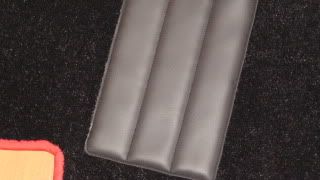
Once that's finished the heal pad is sewn on. Our heal pad helps prevent a hole being put through the mat. The original US factory standard mats didn't come with a heal pad, the Japanese standard did.
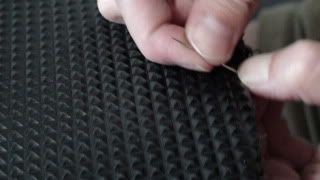
Then it is time for the new rubber backing to be sewn on. This must be done by hand because it is thicker. Our sewing machine needle may break if we use it.
Once the rubber is sewn on we can then start on the trim. This must be done by hand and is the hardest part. My wife must stick the needle through the carpet and the rubber! This process takes her a full day or more for each mat.
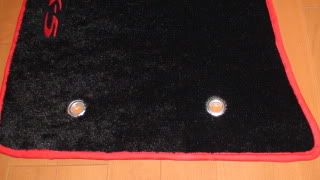
Now we are almost done, we poke holes into the mat and install the eyelits.
These keep the drivers side mat in place.
Some velcro is put around the edges to help hold the mat to the floor even more.
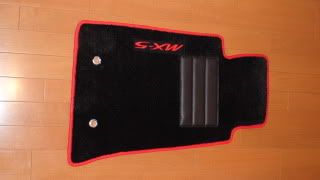
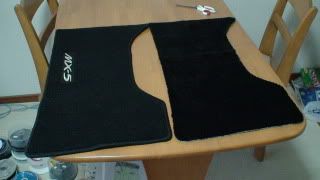
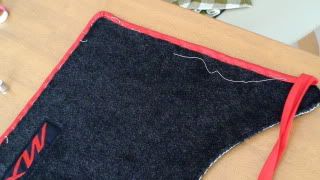
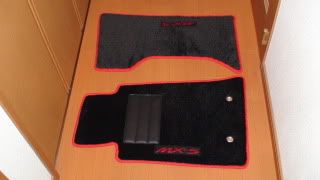
Now we are finally done! And that's all the work that goes into making "you" the customers custom floor mats. Here are some close up pictures.


We make sure the customers new mats are well packed for shipping.
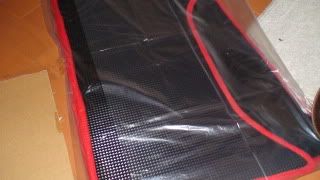
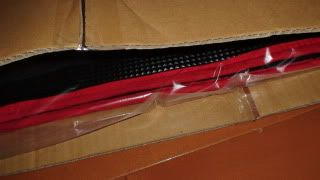
Both mats are placed in a large plastic bag and stuck between 2 pieces of cardboard. Then put inside a large paper bag and sealed. This way the mats are flat, and not bended. Once the customer recieves his/her mats they can be satisfied knowing they now have Japanese hand made custom floor mats!